Learn how to enable iMessage on iPhone and Mac, fix activation issues, and keep blue bubbles, read receipts, and sync working fast.
To enable iMessage, go to Settings > Apps > Messages on your iPhone and toggle iMessage ON. On Mac, open Messages, sign in, then confirm iMessage is enabled in settings. If activation doesn’t work, check your internet, date & time, and Apple ID, then restart your device, and sign out and back in if needed.
What is iMessage And Why You Should Care
You may never have an idea why people care about blue message bubbles but then came along and started using iMessage and then it started to make sense.
iMessage is a proprietary messaging system within Apple devices. All message services that have to go through your carrier can now be sent through the Internet.
Because of the above functionality, iMessage users get the following benefits:
- No SMS charges (whatever carrier you may be, as long as you have Internet, you are fine)
- Blue bubbles (yes, it means something)
- Read receipts and you can see when people are typing
- High-quality media sharing (no restrictions)
- Messages sync across any Apple device, iPhone, iPad, and Mac
- End-to-end encryption
To put it in perspective,
- SMS is equivalent to sending letters in analog form
- iMessage is equivalent to sending messages through WhatsApp (which is an Internet messaging app) but is built into your iPhone
How to Enable iMessage on iPhone
If this is your question, well your search is certainly over. This guide is for you.
Steps:
Step 1: Open Settings
Unlock your iPhone and tap Settings.
Step 2: Go to Messages
Scroll down → Tap Messages.
Step 3: Turn ON iMessage
You should now wait for the system to activate iMessage on your device
Step 4: Wait for Activation
You may get the message ‘Waiting for activation…’
This is indeed normal, this process can take a couple of seconds to process
Step 5: Configure Send & Receive
Decide how you want to be contacted:
- Your phone number
- Your Apple ID email
Important Step
The first time I set up iMessage, I had my texts coming from my email. So just a heads up notes can be a bit confusing.
Is that correct? To do that, choose your phone number from the Start New Conversations From list.
How to Enable iMessage on Mac
The first thing to do is enable iMessage on Mac.
Step 1: Open the iMessage App
On your Mac → Open iMessage.
Step 2: Sign in
Type your Apple ID and click Sign in
Step 3: Enable iMessage
Go to Messages > Settings > iMessage
Make sure it is turned ON.
Step 4: Sync with iPhone
All devices need to have the same Apple ID.
Outcome:
Messaging will sync with iPhone, Mac, and iPad.
How to Enable iMessage on Mac
Making an iMessage account is quite this simple if you ask:
On iPhone:
- Go to Settings > Messages > Send & Receive
- Tap Apple ID → Sign in
On Mac:
- Open iMessage
- Type in Apple ID → Sign in
How to Activate iMessage
Many users get asked often about how to activate iMessage, but the toggle is ON yet iMessage is still not working. Let’s resolve this.
Common Fixes
1. Verify Internet Connection
iMessage operates with just Wi-Fi.
2. Restart your Device
It is simple but very effective.
3. Verify Date & Time
Settings → General → Date & Time → “Set Automatically” switch ON
4. Update your iOS/macOS
Bugs come with old software.
5. Sign out and sign in again
Then go to:
Messages → Apple ID → Sign out → Sign in again
6. Make Sure Phone Number is Correct
Then go to:
Send & Receive → Make sure your number is checked
How to Change Text Message to iMessage
Many people have this confusion. There is no confusion here. There is NO manual switch.
A message becomes an iMessage only when:
- Both users have Apple devices.
- iMessage is turned on
- There is an active internet connection.
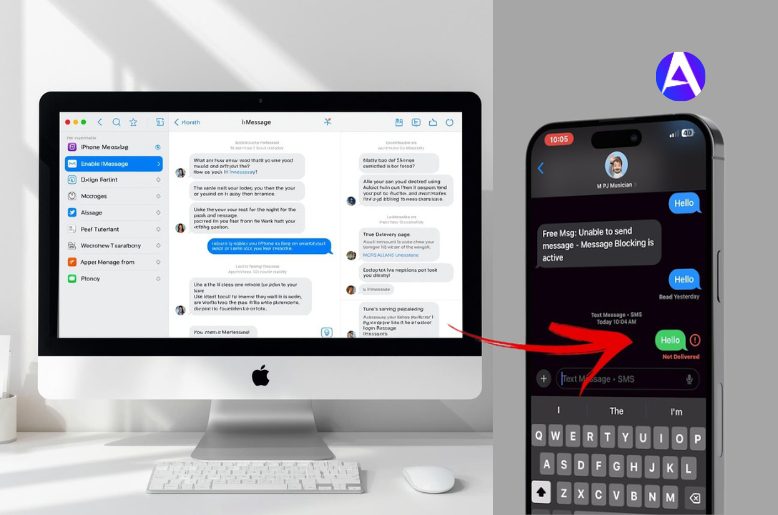
Blue vs Green Messages
- Blue = iMessage
- Green = SMS
Another Quick Reality Check
If messages are coming out green then:
- The other person is not using an iPhone
- iMessage is turned off on one device
- There is no internet connection
How to Check the Proper Working of iMessage
The iMessage service is functioning if you see the following:
- Messages show as blue
- Messages show as Delivered/Read
- You see the typing indicators
- High-quality send
Can You Access iMessage Without a SIM?
Yes, to check iMessages you only need Wi-Fi and your Apple ID.
But:
- The SIM is needed to verify a phone number
- You can iMessage without a SIM if you use an email address.
What Happens If You Don’t Enable iMessage
Not having iMessage means:
- Messages sent as SMS/MMS
- You may incur charges.
- No read receipts
- Seamless integration across your devices
- No rich media features.
You basically lose the complete Apple messaging experience.
Take Notes if You’re in Business
iMessage is designed for personal use.
If you’re dealing with customers or mass messaging then:
- No automation
- No analytics
- No scheduling
In those instances, dedicated SMS services may be more suited.
My Personal Experience
I assumed iMessage would work when I first got my iPhone. It actually did work.
I assumed the phone number that was texting was somehow incorrect. It happened to be true for me.
iMessage was not active, my number was not selected and the Internet was not stable.
I was so excited when so many little things ruined the fun of my first iPhone.
So, what is the lesson? Most issues with iMessage look complex, but they are actually very easy.
FAQs
Q. Does iMessage require Wi-Fi?
No, that iMessage is not required to even use a Wi-Fi connection or even just mobile data.
Q. Is iMessage free in the US?
iMessage is not free if you’re using mobile data charges may apply.
Q. Why is iMessage not activating?
It can be as simple as:
- No internet
- Time settings are incorrect
- No apple ID
Q. Can iMessage be enabled on multiple devices?
Yes, if you use the same Apple ID across the devices.
Conclusion
As mentioned before, the process is straightforward; however, there are a few kinks to work out to ensure perfect functionality.
After the initial soreness, you can expect the following:
- Messages to be sent lightning fast
- Increased the speed of multimedia sharing
- Integrated seamless syncing throughout
Follow the simple instructions, make all the required corrections, and you’re set.
Looking for a lightweight OS beyond Apple? Check out our guide on the Best Linux Distro for Laptops in 2026 to find fast, battery-friendly alternatives.